
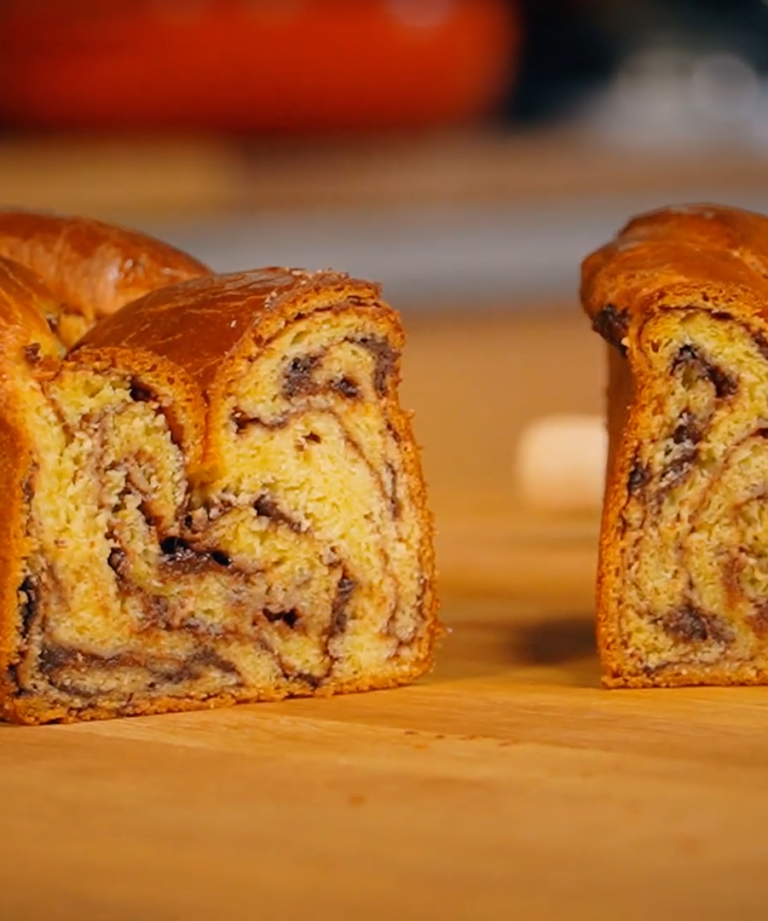
Greek sweet bread-tsoureki with chocolate filling
INGREDIENTS
FOR THE SWEET BREAD
- 21 gr. dry yeast
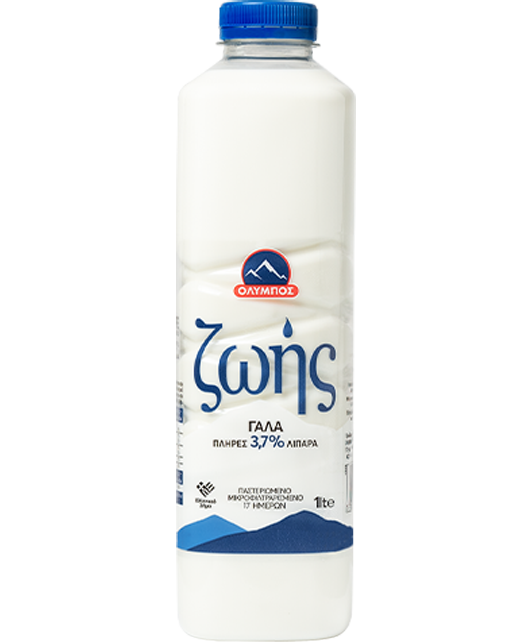
- 145 gr. Zois milk full fat
- 165 gr. sugar
- 450 gr. flour for sweet breads
- 8 gr. mahlab, grounded
- 3 gr. mastic, grounded
- 9 gr. orange zest
- 90 gr. eggs, beaten
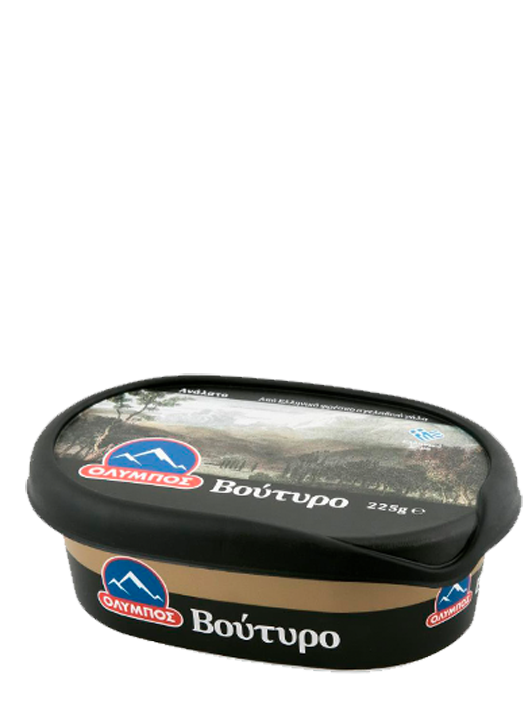
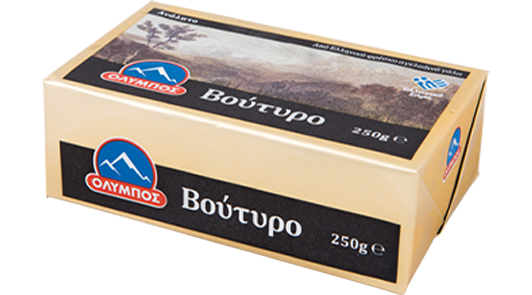
- 120 gr. Cow butter, in cubes, softened
- 3 gr. vanilla extract
- 4 gr. salt
- 180 gr. chocolate hazelnut spread
- 75 gr. chocolate couverture 70% cocoa, chopped
- egg for brushing, beaten
PRODUCT

METHOD

RELATED RECIPES


